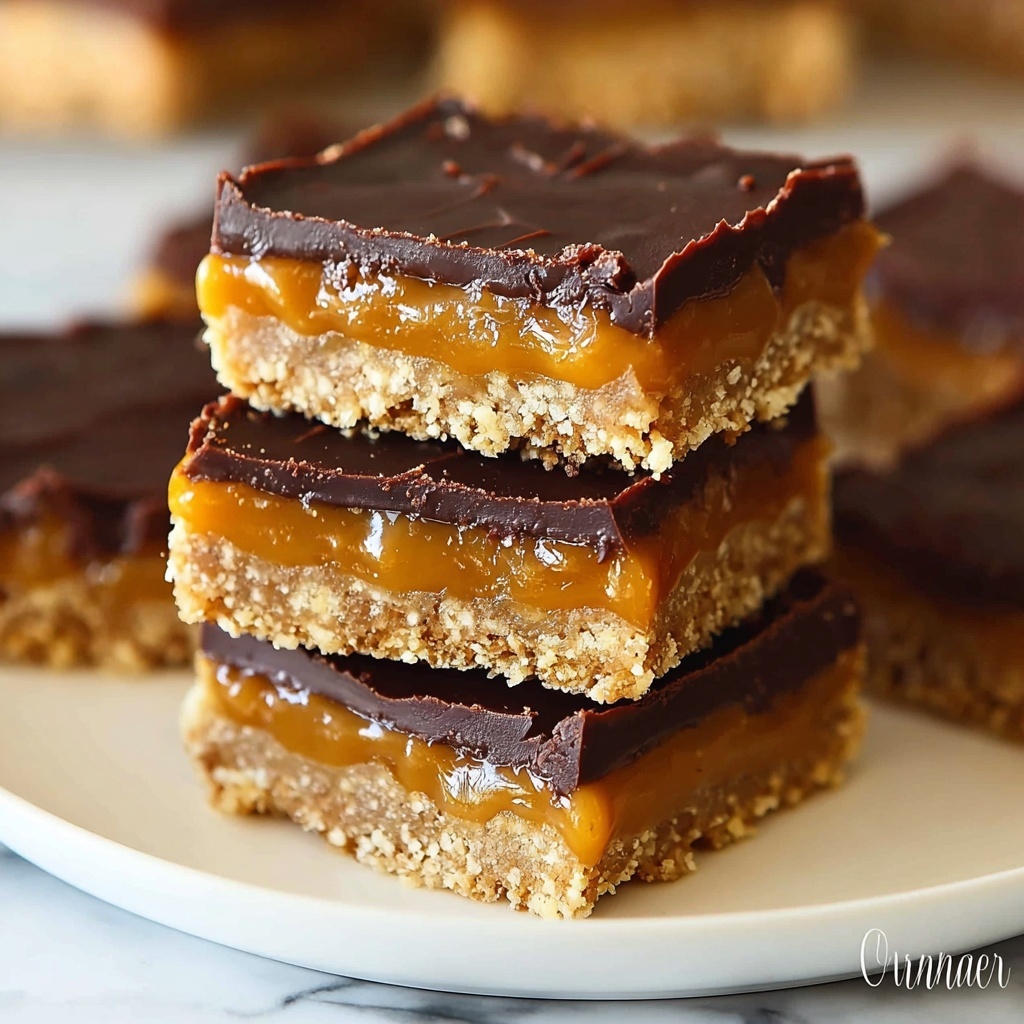
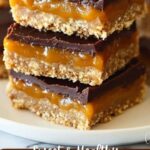
If you’re craving a delicious yet nourishing treat that brings back all the fun nostalgia of your favorite candy bar, you’re in for a real delight with this Healthy Twix Bars Recipe. These bars artfully combine a crumbly almond flour crust, a luscious date caramel middle, and a glossy dark chocolate topping—giving you all the rich flavor and satisfying crunch without the usual guilt. Perfectly balanced between sweet and wholesome, these bars are a fantastic option when you want dessert that loves you back.
Ingredients You’ll Need
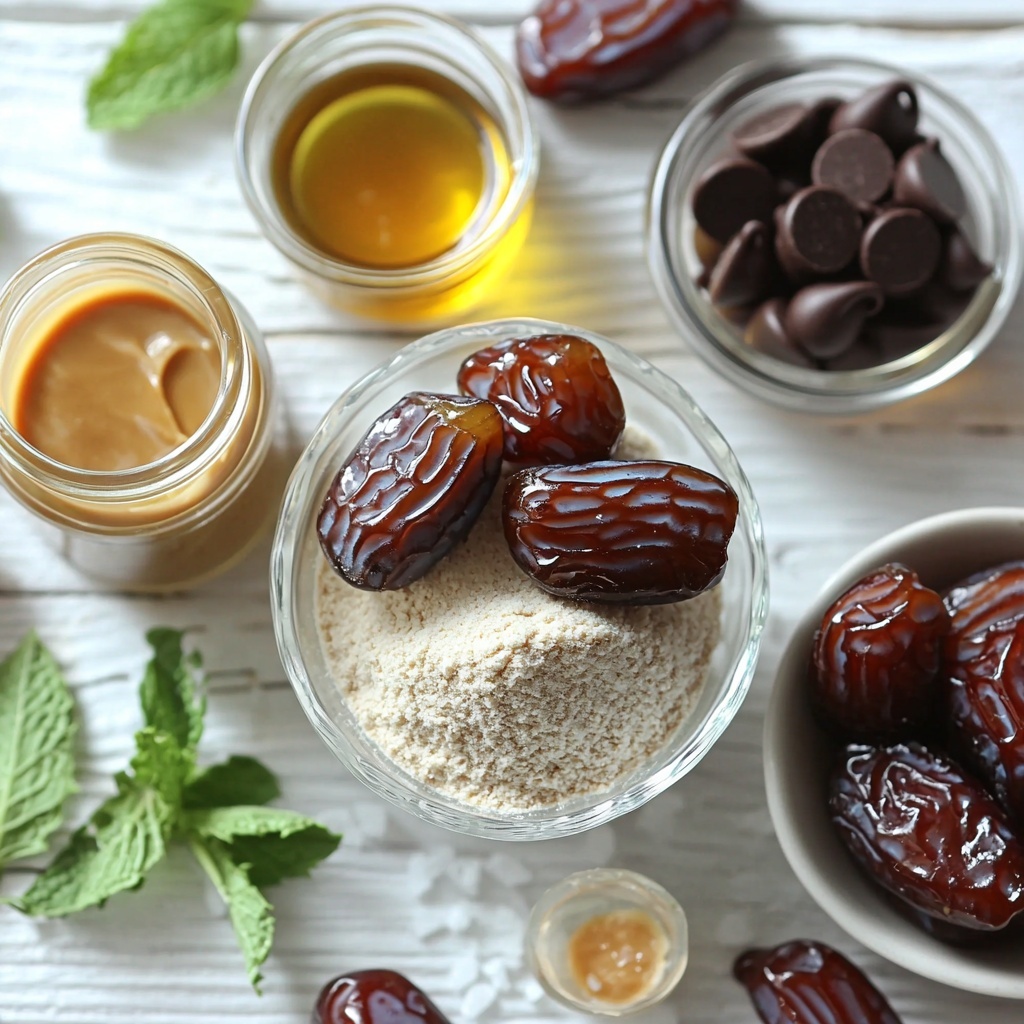
Simple, wholesome ingredients come together in this Healthy Twix Bars Recipe to create layers of flavor and texture that feel indulgent yet are surprisingly good for you. Each item you add plays an important part in creating that perfect bite—whether it’s the almond flour providing a tender base or the dates offering a natural caramel sweetness.
- 1 cup almond flour: This forms a gluten-free, nutty crust that holds the bar together while keeping it light.
- 1/4 cup coconut oil, melted: Adds healthy fats and moisture to the crust, enhancing both texture and flavor.
- 2 tablespoons maple syrup: A natural sweetener that brings subtle sweetness without overpowering.
- 1/2 teaspoon vanilla extract: Infuses the base and caramel layers with warm, aromatic notes.
- 1/4 teaspoon salt: Balances sweetness and enhances overall depth of flavor.
- 1/2 cup pitted dates, softened: The star of the caramel, these provide a rich, natural sweetness and chewy texture.
- 2 tablespoons peanut butter or almond butter: Adds creaminess and a hint of nuttiness to the caramel layer—choose your favorite!
- 1 tablespoon coconut oil: Helps smooth out the caramel for a luscious mouthfeel.
- 1/2 teaspoon vanilla extract: Enhances the caramel with extra warmth and complexity.
- 1 cup dark chocolate chips: Brings a deep, rich chocolate layer that perfectly crowns the bars.
- 1 teaspoon coconut oil: Used to melt the chocolate smoothly for an even, glossy finish.
How to Make Healthy Twix Bars Recipe
Step 1: Prepare the Almond Flour Crust
Start by preheating your oven to 350°F and lining an 8×8-inch pan with parchment paper to prevent sticking. In a mixing bowl, combine almond flour, melted coconut oil, maple syrup, vanilla extract, and salt until the dough forms a cohesive mixture. Press this dough firmly and evenly into the pan, creating a sturdy base that will bake into a lightly golden crust. Bake it for about 10 to 12 minutes until it’s just golden around the edges, then remove and let it cool completely before moving on to the next step.
Step 2: Make the Date Caramel Filling
While your crust is cooling, it’s time to whip up that irresistible date caramel. In a food processor, blend together the softened dates, your chosen nut butter, coconut oil, and vanilla extract until the mixture turns smooth and creamy with the texture of caramel. Spread this luscious caramel layer evenly over the cooled crust. To let it set up nicely, pop the pan into the freezer for 15 to 20 minutes, giving that caramel time to firm and hold its shape.
Step 3: Add the Chocolate Topping
Next, melt the dark chocolate chips with the teaspoon of coconut oil—either in short bursts in the microwave, stirring frequently, or gently over a double boiler. Once melted into a shiny, smooth consistency, pour the chocolate over your chilled caramel layer and spread it evenly with a spatula. For best results, chill the bars in the refrigerator for at least one hour until the chocolate is firm and the bars hold together perfectly.
Step 4: Slice and Enjoy
After the bars have chilled and set, carefully lift the parchment paper out of the pan and place on a cutting board. Using a sharp knife, slice into 12 equal-sized bars. These are now ready to enjoy as a satisfying snack or dessert that’s both indulgent and nourishing!
How to Serve Healthy Twix Bars Recipe
Garnishes
For an extra special touch, sprinkle chopped nuts such as toasted almonds or peanuts over the chocolate before it sets for added crunch, or dust with a tiny pinch of sea salt to highlight the sweet and salty contrast that makes Twix bars so magical. Fresh berries on the side can add a pop of color and brightness to your serving plate.
Side Dishes
Pair your Healthy Twix Bars with a cup of herbal tea or a rich coffee for a lovely afternoon pick-me-up. They also make a fantastic pairing with a scoop of your favorite dairy-free vanilla ice cream for a healthier take on classic ice cream sandwiches.
Creative Ways to Present
Serve these bars on a rustic wooden board alongside a few whole dates, chocolate shards, and nuts for a beautiful dessert platter. For gifts, wrap individual bars in parchment paper tied with twine to share a little homemade happiness with friends and family.
Make Ahead and Storage
Storing Leftovers
Store your Healthy Twix Bars Recipe leftovers in an airtight container in the refrigerator, where they will keep beautifully firm and fresh for 3 to 4 days. This chilling time intensifies the flavors and keeps the bars perfectly textured.
Freezing
For longer storage, freeze the bars in a sealed container or wrapped tightly in plastic wrap and foil. They will maintain their best quality for up to 1 month. To enjoy, thaw them overnight in the refrigerator for the best texture and flavor.
Reheating
Since these bars are meant to be enjoyed chilled or at room temperature, reheating is usually unnecessary. However, if you prefer a softer bite, let the bars sit at room temperature for about 15 minutes before serving. Avoid microwaving as it can soften the chocolate layer too much or make the bars greasy.
FAQs
Can I use other kinds of nut butters in this recipe?
Absolutely! Cashew, sunflower seed butter, or tahini can work beautifully depending on your taste preference or dietary needs. Each will add a slightly different flavor and texture to your date caramel layer.
Are these Healthy Twix Bars Recipe vegan?
Yes! By using dairy-free chocolate chips and plant-based nut butters, this recipe is entirely vegan-friendly without sacrificing any of the classic Twix flavors.
Can I substitute almond flour with another flour?
You could try oat flour or a gluten-free flour blend, but keep in mind that the texture will vary. Almond flour gives these bars their signature tender crumb and nutty flavor, so it’s best if you can stick to it.
How sweet are these bars compared to traditional Twix?
These bars offer a balanced sweetness from natural sources like dates and maple syrup, which makes them less sugary but just as satisfying. They are a great option if you want a treat without a sugar crash afterwards.
What’s the best way to soften the dates?
The easiest method is to soak pitted dates in warm water for 10 to 15 minutes before blending. This softens them up and helps achieve that smooth, caramel-like texture essential for the filling.
Final Thoughts
Whipping up this Healthy Twix Bars Recipe is like giving yourself permission to enjoy a timeless treat in a wholesome way. It’s perfect for anyone who loves classic candy but wants to nourish their body with ingredients that genuinely contribute to well-being. I encourage you to give this recipe a try—you won’t believe how delicious and satisfying healthy can be!
Print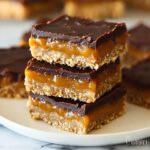
Healthy Twix Bars Recipe
- Prep Time: 20 minutes
- Cook Time: 12 minutes
- Total Time: 1 hour 32 minutes
- Yield: 12 bars
- Category: Dessert
- Method: Baking
- Cuisine: American
- Diet: Gluten Free
Description
Delicious and nutritious Healthy Twix Bars made with almond flour crust, natural date caramel, and rich dark chocolate. These gluten-free dessert bars offer a wholesome twist on the classic candy bar with clean, simple ingredients perfect for satisfying sweet cravings without guilt.
Ingredients
Crust
- 1 cup almond flour
- 1/4 cup coconut oil, melted
- 2 tablespoons maple syrup
- 1/2 teaspoon vanilla extract
- 1/4 teaspoon salt
Date Caramel Filling
- 1/2 cup pitted dates, softened
- 2 tablespoons peanut butter or almond butter
- 1 tablespoon coconut oil
- 1/2 teaspoon vanilla extract
Chocolate Topping
- 1 cup dark chocolate chips
- 1 teaspoon coconut oil
Instructions
- Preheat and Prepare Pan: Preheat the oven to 350°F and line an 8×8-inch baking pan with parchment paper to prevent sticking and make removal easy.
- Make the Crust: In a mixing bowl, combine almond flour, melted coconut oil, maple syrup, vanilla extract, and salt. Stir until a cohesive dough forms, then press it evenly into the lined baking pan to create the base layer.
- Bake the Crust: Bake the crust for 10 to 12 minutes or until it turns lightly golden. Remove from the oven and set aside to cool completely, ensuring the crust firms up properly.
- Prepare Date Caramel: In a food processor, blend the softened dates, nut butter, coconut oil, and vanilla extract until smooth and caramel-like in texture, scraping down the sides as needed for uniform consistency.
- Assemble Filling: Spread the date caramel evenly over the cooled crust layer. Place the pan in the freezer for 15 to 20 minutes to allow the caramel layer to firm up and hold its shape.
- Melt Chocolate Topping: Gently melt the dark chocolate chips with coconut oil either in short bursts in the microwave or over a double boiler, stirring until smooth and glossy.
- Add Chocolate Layer: Pour the melted chocolate evenly over the chilled date caramel layer. Smooth with a spatula to cover the entire surface.
- Chill Bars: Refrigerate the assembled bars for at least 1 hour or until the chocolate topping is fully set and firm.
- Serve: Once set, lift the bars out of the pan using the parchment paper edges. Cut into 12 equal bars and enjoy your healthy homemade treat.
Notes
- Substitute cashew butter for milder nut butter flavor.
- Store bars in the refrigerator for a firmer texture or at room temperature for a softer bite.
- Use dairy-free chocolate chips to ensure the recipe remains vegan-friendly.
