
There is truly nothing quite like waking up to the warm, tender embrace of a freshly toasted English muffin that has been made from scratch. This Homemade English Muffins Recipe invites you to discover the delight of creating these iconic breakfast treats right in your own kitchen. With a golden crust speckled with cornmeal and a tender, chewy interior full of nooks and crannies, these muffins bring a comforting, bakery-fresh charm that far surpasses anything store-bought. Whether you’re spreading butter that melts into every pocket or layering with your favorite jams and savory toppings, this recipe is a guaranteed crowd-pleaser that’s as fun to make as it is to eat.
Ingredients You’ll Need
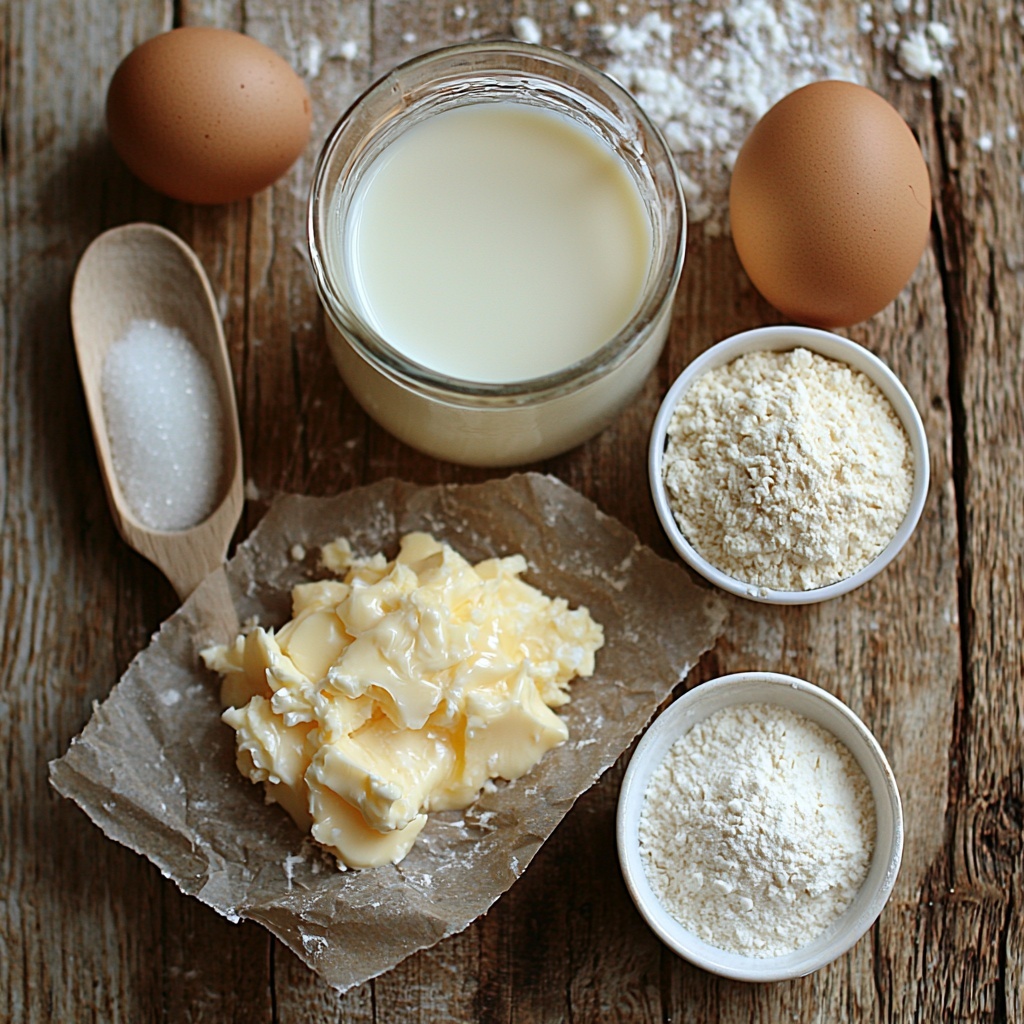
These ingredients are simple, uncomplicated, and each plays an important role in crafting the perfect texture, flavor, and color of your homemade English muffins. From the gentle richness of milk and butter to the leavening magic of yeast, every element blends to create that signature tender crumb and just-right crust.
- Warm milk: Provides moisture and a tender crumb; make sure it’s warm, not hot, to activate the yeast properly.
- Melted butter: Adds richness and helps with tenderness and browning.
- Large egg: Binds the dough and contributes to a soft crumb and rich flavor.
- Sugar: Feeds the yeast and gives a touch of sweetness that balances the flavor.
- Instant yeast: The leavening agent that makes the muffins rise light and fluffy.
- Salt: Enhances the flavors and balances the sweetness.
- All-purpose flour: The structural base that creates the dough’s body and chewiness.
- Cornmeal: Sprinkled on the baking sheet and tops, it adds that classic crunch and texture to the crust.
How to Make Homemade English Muffins Recipe
Step 1: Combine Wet Ingredients and Yeast
Begin by whisking together the warm milk, melted butter, egg, sugar, yeast, and salt in your stand mixer bowl. This mixture will serve as the foundation for your dough, ensuring the yeast activates just right while all the flavors quietly start mingling. The warmth of the milk is crucial here — too hot can kill the yeast, too cold won’t activate it properly.
Step 2: Add Flour and Knead
Attach your dough hook and gradually add the flour while mixing on medium speed. Knead for about 7 to 8 minutes until your dough transforms into a smooth, elastic ball with a slightly tacky feel. If the dough feels too sticky to handle, a tablespoon more flour can gently bring it to the perfect consistency. This step is where gluten develops, giving those muffins that signature chew.
Step 3: First Rise
Cover your bowl with a clean kitchen towel or plastic wrap and place it somewhere warm to rise. Over the next 60 to 90 minutes, your dough will double in size, growing airy and light with every passing minute. This patient wait rewards you with a beautifully aerated dough that will yield wonderfully fluffy muffins.
Step 4: Prepare Cornmeal Surface
While the dough rises, sprinkle a generous layer of cornmeal evenly across a large baking sheet lined with parchment paper. This cornmeal bed is a critical step that prevents sticking while imparting that distinctive texture on the muffin bottoms. It’s a simple detail that makes a big difference!
Step 5: Shape the Muffins
Once your dough has puffed up, gently punch it down and turn it onto a floured surface. Roll it out into a rectangle about three-quarters of an inch thick, then use a 2 ½-inch round cutter to cut out neat circles. Place each circle on the cornmeal-lined sheet, leaving space between for a little expansion.
Step 6: Second Rise
Sprinkle the tops of your muffins with more cornmeal for that authentic rustic touch, then cover them lightly and let them rest for another 30 minutes. They should puff up noticeably again, which means they’re developing even more of that tender crumb and delightful texture once cooked.
Step 7: Cook to Golden Perfection
Heat a large skillet over medium-low heat and lightly grease it with butter to prevent sticking while adding extra flavor. Place 3 to 4 muffins in the pan, making sure they have enough space to expand without touching. Cover and cook them gently for 7 to 8 minutes on each side until they’re golden brown and crusty. If you notice the bottoms are browning too fast, simply lower the heat to allow a perfect, even cook without burning.
How to Serve Homemade English Muffins Recipe
Garnishes
The beauty of homemade English muffins lies in their versatility. A simple slather of butter melting into every nook feels heavenly, but you can also get creative with toppings like creamy cream cheese, sweet preserves, or even a drizzle of honey. For a savory twist, try avocado smash, smoked salmon, or a poached egg to turn breakfast into a luxurious treat.
Side Dishes
These muffins pair beautifully with classic breakfast stars like crispy bacon, sausages, or fresh fruit salad to balance the meal. They also complement eggs cooked any style perfectly, whether poached, scrambled, or fried, making your morning plate complete with texture and flavor contrasts.
Creative Ways to Present
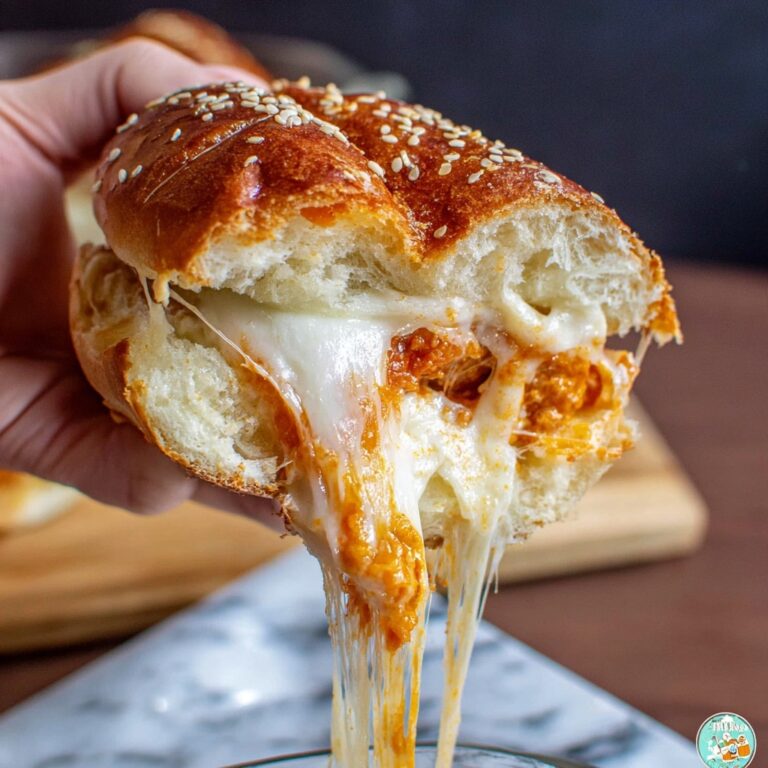
Upgrade your presentation by slicing the muffins horizontally and using them as sandwich buns for delightful brunch sliders. You can also toast halves topped with melted cheese and a sprinkle of herbs or use them as a base for mini pizzas with fresh tomato and basil for a fun and unexpected twist on your Homemade English Muffins Recipe experience.
Make Ahead and Storage
Storing Leftovers
When you have leftover muffins, cool them completely and store them in an airtight container or resealable bag at room temperature for up to two days. This keeps them soft and ready to toast or warm as needed.
Freezing
To enjoy these muffins longer, wrap each one individually in plastic wrap and place them in a freezer-safe bag. Frozen Homemade English Muffins Recipe results keep their wonderful texture for up to three months. Just thaw overnight in the refrigerator or at room temperature before heating.
Reheating
The best way to reheat your English muffins is by toasting them, which brings back their crispiness and highlights those signature nooks and crannies. You can also warm them gently in a skillet or oven if you prefer a softer edge without the crunch.
FAQs
Can I use active dry yeast instead of instant yeast?
Yes, you can use active dry yeast but you should proof it first by dissolving it in warm milk with a pinch of sugar for about 5-10 minutes until bubbly before adding to the mix. This step ensures it activates properly for rising.
What if my dough is too sticky to handle?
If your dough feels overly sticky, don’t panic! Simply add flour one tablespoon at a time while kneading until it reaches a tacky but manageable consistency. Over-flouring can make muffins dense, so add sparingly.
Why do we sprinkle cornmeal on the baking sheet and muffins?
Cornmeal prevents sticking during cooking and provides the distinctive texture and rustic look that traditional English muffins are known for. It also adds a subtle crunch and flavor to the crust.
Can I make these muffins without a stand mixer?
Absolutely! You can mix the wet ingredients and gradually add flour by hand. Knead the dough on a floured surface for about 10 to 12 minutes until smooth and elastic. It just takes a bit more elbow grease but works great.
How do I get those classic nooks and crannies inside the muffins?
The nooks and crannies form due to the combination of steam during cooking and leaving the dough slightly tacky. Mild cooking heat and covering during skillet-cooking help create that unique texture as the muffin rises and bubbles on the pan.
Final Thoughts
Trust me when I say this Homemade English Muffins Recipe will become a beloved staple in your kitchen for breakfast and beyond. It’s truly rewarding to pull these golden, pillowy delights fresh from the pan and customize them any way you please. Give it a try, and prepare to fall in love with the simple joy of fresh-baked muffins that bring warmth and comfort every time.
Print
Homemade English Muffins Recipe
- Prep Time: 10 minutes
- Cook Time: 15 minutes
- Total Time: 1 hour 55 minutes
- Yield: 10 muffins
- Category: Breakfast
- Method: Stovetop
- Cuisine: British
Description
This Homemade English Muffins recipe yields soft, chewy, and perfectly golden muffins with a characteristic nooks-and-crannies texture that’s ideal for slathering with butter or jam. Made from simple pantry ingredients and cooked on the stovetop, these English muffins are perfect for breakfast or brunch and deliver a delightful homemade touch to your table.
Ingredients
Dough
- 1 ¼ cups warm milk (not hot)
- 3 tablespoons melted butter
- 1 large egg
- 2 tablespoons sugar
- 2 ¼ teaspoons instant yeast
- 1 teaspoon salt
- 3 cups all-purpose flour (spooned and levelled)
For Cooking
- ¼ cup cornmeal (for sprinkling)
- Butter (for greasing skillet)
Instructions
- Mix Wet Ingredients and Yeast: In a stand mixer bowl, combine the warm milk, melted butter, egg, sugar, instant yeast, and salt until well mixed and uniform.
- Knead the Dough: Attach the dough hook and mix in the all-purpose flour on medium speed for 7-8 minutes until you achieve a smooth, elastic dough that is slightly tacky but not sticky. If the dough feels too sticky, incorporate up to 1 tablespoon more flour.
- First Rise: Cover the bowl with a clean kitchen towel or plastic wrap and let the dough rise in a warm place for 60 to 90 minutes or until it has doubled in size.
- Prepare Baking Surface: Lightly sprinkle cornmeal over a large baking sheet lined with parchment paper for easy transfer and to prevent sticking.
- Shape Muffins: Punch down the risen dough and transfer it onto a generously floured surface. Roll it out evenly to about ¾ inch thick. Using a 2 ½-inch round cutter, cut out circles and place them spaced apart on the cornmeal-dusted baking sheet.
- Second Rise: Sprinkle a light layer of cornmeal on top of the dough circles, cover them, and allow to rise for another 30 minutes until noticeably puffed.
- Cook on Skillet: Heat a large skillet over medium-low heat and lightly grease it with butter. Place 3-4 muffin rounds on the skillet, leaving space between each. Cover the skillet and cook for 7-8 minutes on one side until golden brown, then flip and cook the other side for another 7-8 minutes. Adjust heat to low if the muffins brown too quickly on the bottom. Remove and cool before serving.
Notes
- Ensure the milk is warm, not hot, to properly activate the yeast.
- Kneading time is crucial for good texture; avoid over-addition of flour to keep muffins soft.
- Cooking over medium-low heat prevents burning and ensures muffins cook through.
- Use a round cutter slightly smaller than traditional muffin tins to get proper thickness and texture.
- Allow muffins to cool slightly before splitting with a fork to reveal the characteristic nooks and crannies.


